💻 Installation
It takes 5 minutes to be live!
Installing Cleever on your WooCommerce website
-
Connect to your WordPress account

-
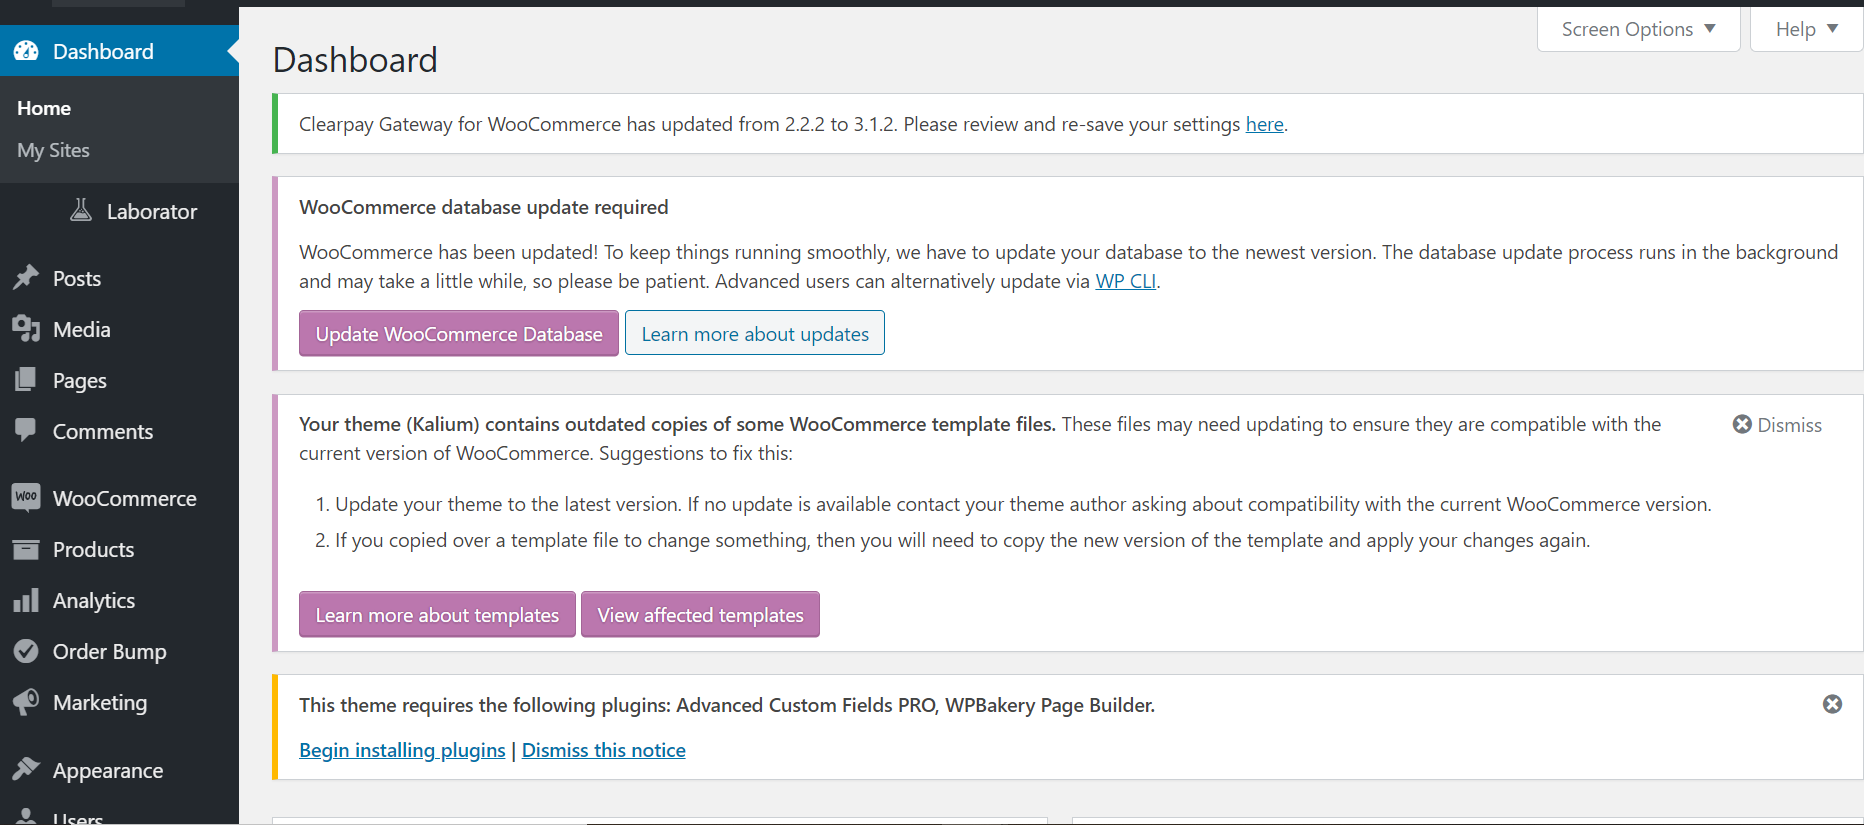
On the sidebar, click on “Plugins”-->” Add new”
-
In the search bar, type Cleever
-
Once you found Cleever, click on “Install now”
-
When the plugin is installed, click on “Activate”
-
Click on Enable auto-update at the right of the plugin table
Configuring Cleever on your WooCommerce website
-
To configure the Cleever plugin, on the left menu, go to:
Plugins > Installed Plugins > Discount payment Cleever. Click on Settings. -
You are redirected to the Cleever settings. You now need to indicate the API keys (Cleever credentials) so that we can secure connection with the payment servers.
You can get your credentials by logging into your Cleever merchant dashboard (http://partners.cleever.com)


-
In the dashboard, go to the top-right menu and click on "Access information"

-
Copy each key, by clicking on the copy icon, and paste it into the extension WooCommerce Cleever settings. Keys are in the same order in the Cleever dashboard and in the WooCommerce settings. It is important to copy all of them for Cleever to be functional.

-
Check the Enable Cleever payment checkbox and the Cleever discount one.

-
Click on Save changes button.
-
Cleever is now activated on the website and shoppers can access Cleever's services on your website now!
Now check that both Cleever discount and Cleever payment are enabled and properly positioned
-
Go to WooCommerce > Settings
-
Click on the "Payments" tab, and then locate Cleever payment and Cleever discount in the listing.
- Drag and drop Cleever Payment at the top, and Cleever Discount just below in second position.

- Disable other payment methods
- Validate by clicking on "Save changes"
You are now live with Cleever properly configured on your website!!
Activate slots to better convert your customers
To activate the Product slot follow the steps here.
To activate the Shipping slot follow the steps here.
Promote service discounts with banners
Cleever extension gives you the possibility to display banners on the website.
Displaying banners promotes the service discounts and offerings to the shopper, thereby increasing the cart-to-order conversion ratio, thereby boosting sales on your website.
To enable the banners:
- Click on the menu, Plugin > Installed plugins
- Search for Cleever payment
- Click on Settings
- Scroll down in Cleever settings, you will see all the banners which can be displayed
- Select them all (better for conversion), or just the ones you feel you need
- Click on Save changes
- Banners are live!